Small RIBBA Word Clock
Design files for a word clock based on a single layer 20x20 cm² PCB for use in a small RIBBA picture frame from IKEA.
Overview
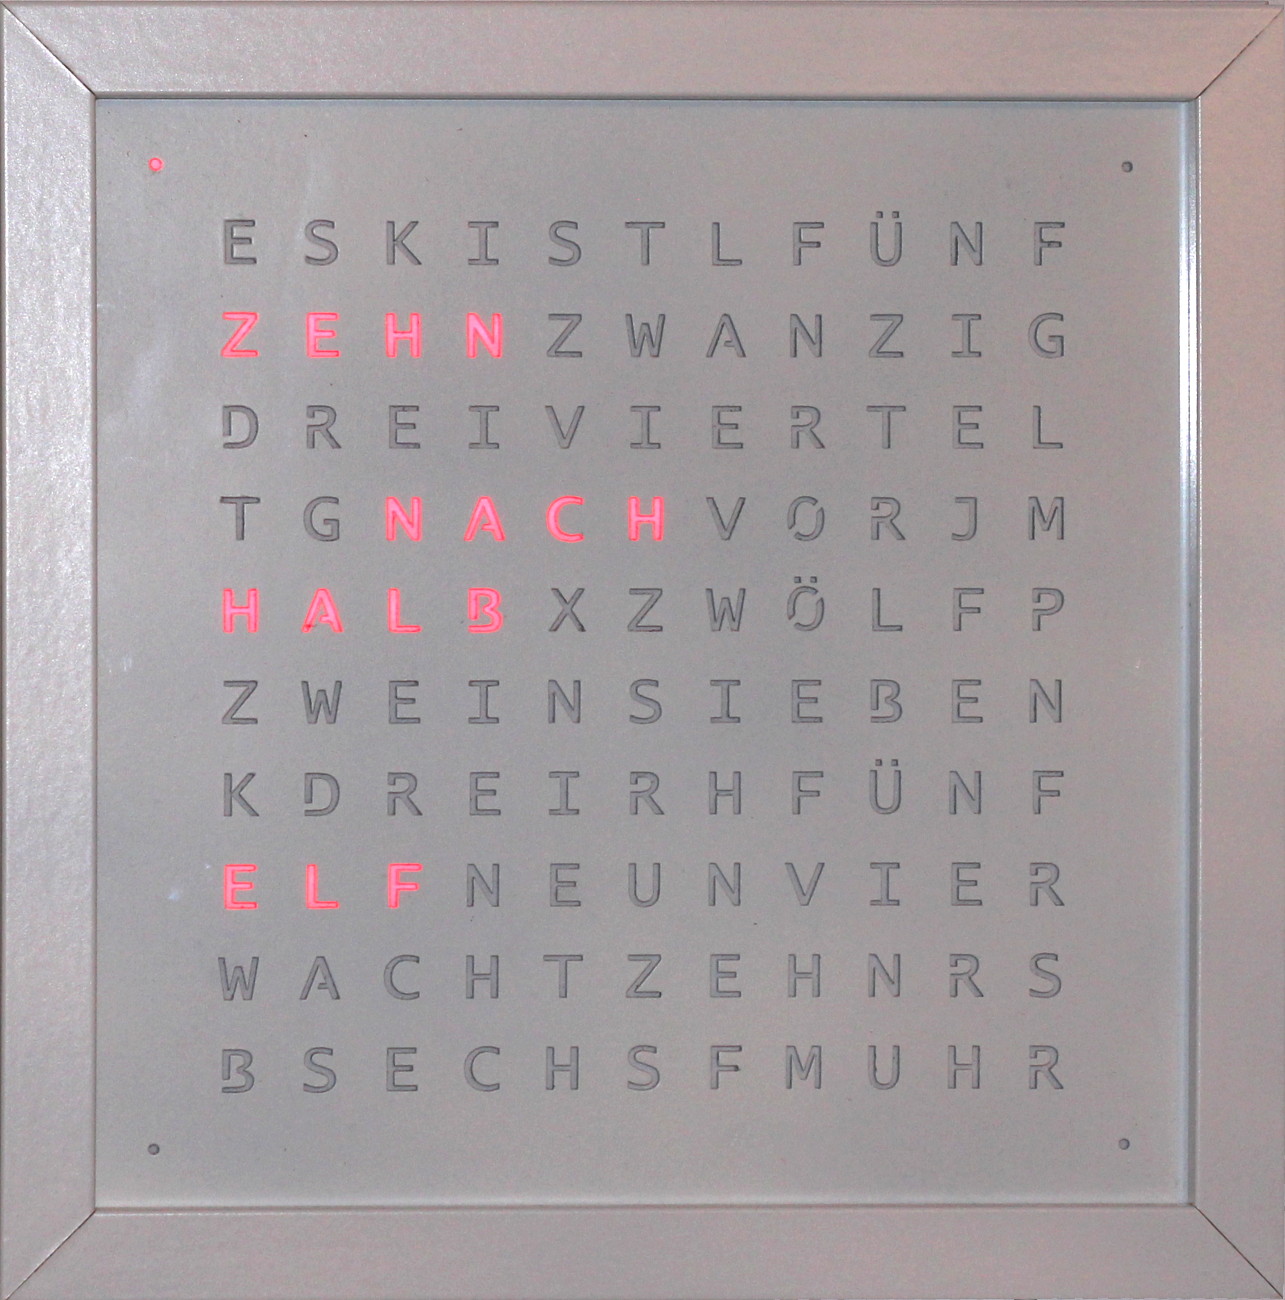
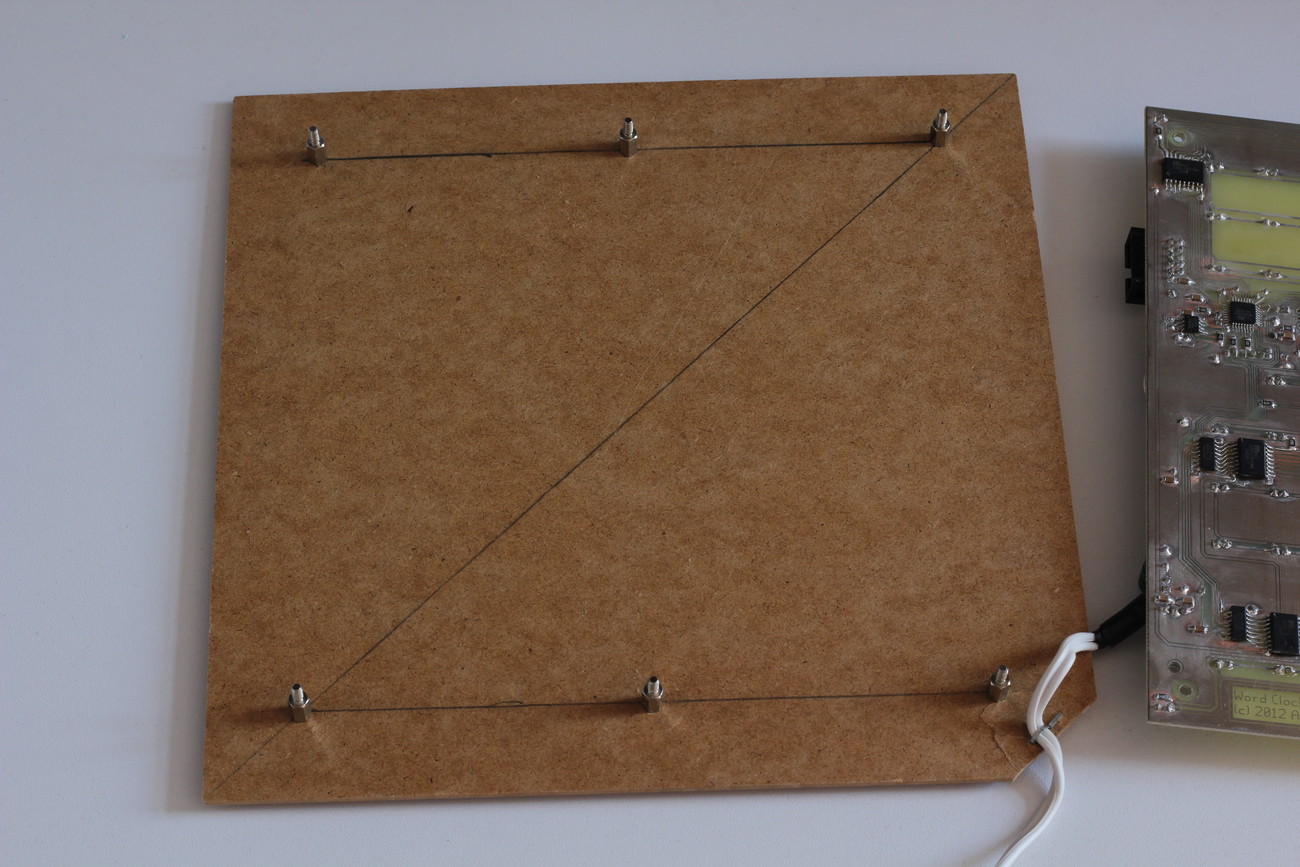
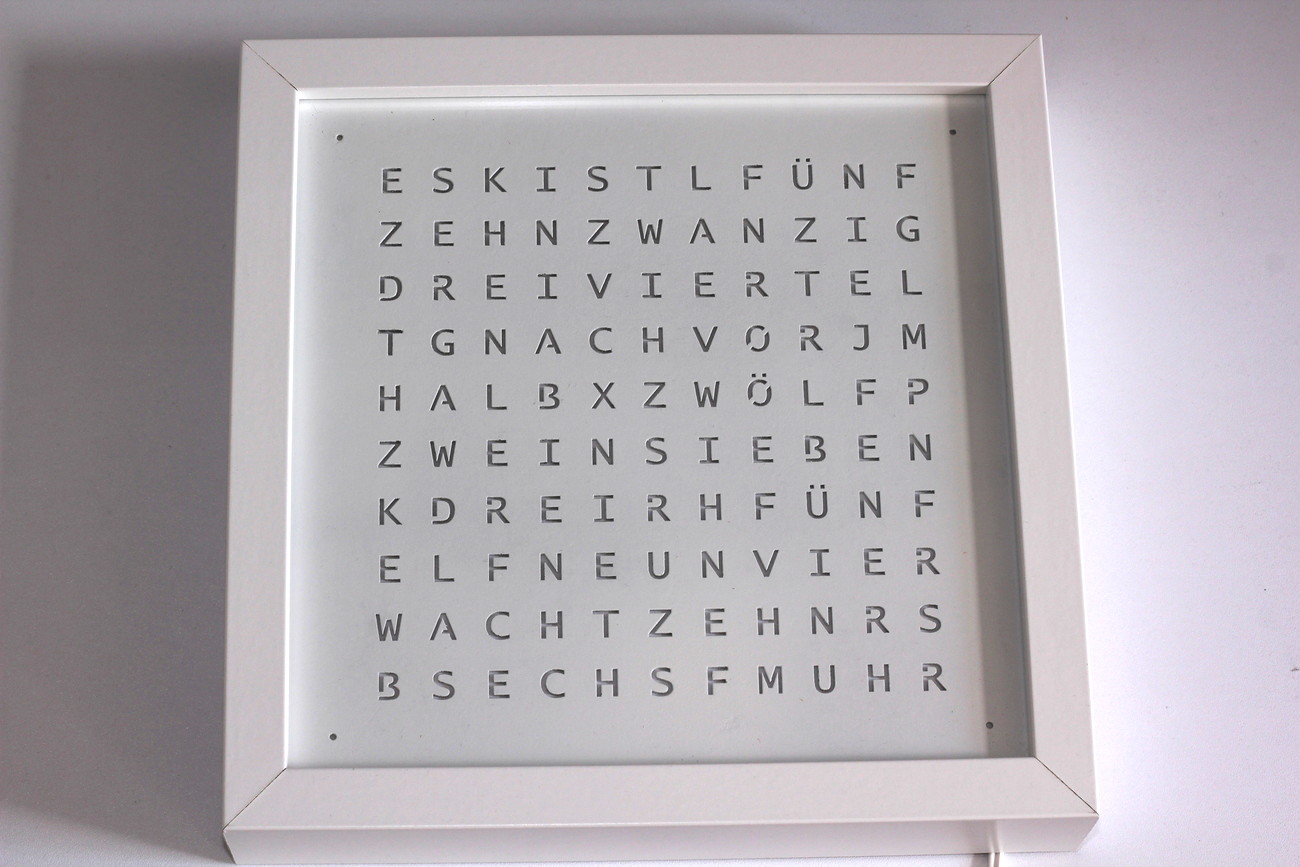
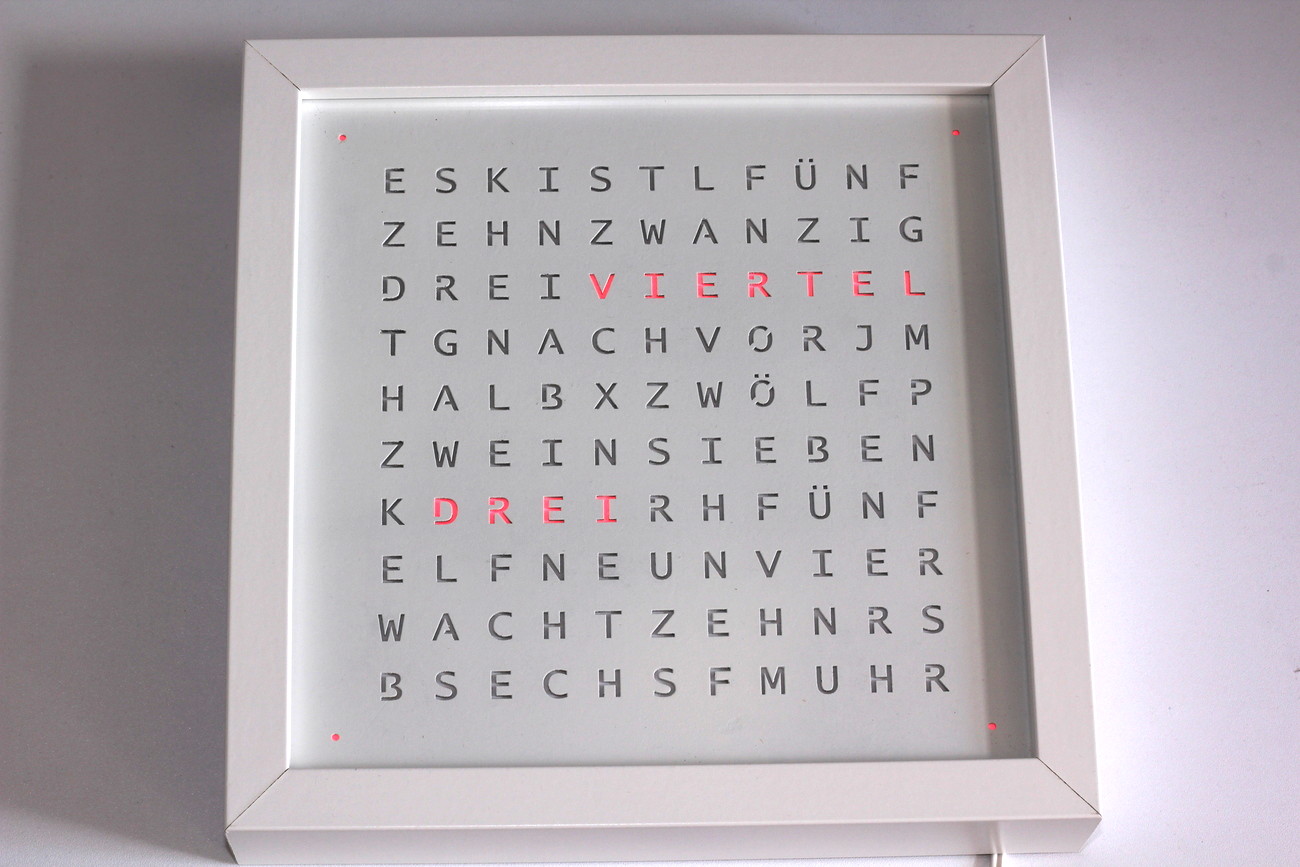
These are the design files for a word clock (see mikrocontroller.net). It uses a 20x20 cm² single layer PCB which is meant to be built into a small 23x23 cm² RIBBA picture frame from IKEA.
PCB

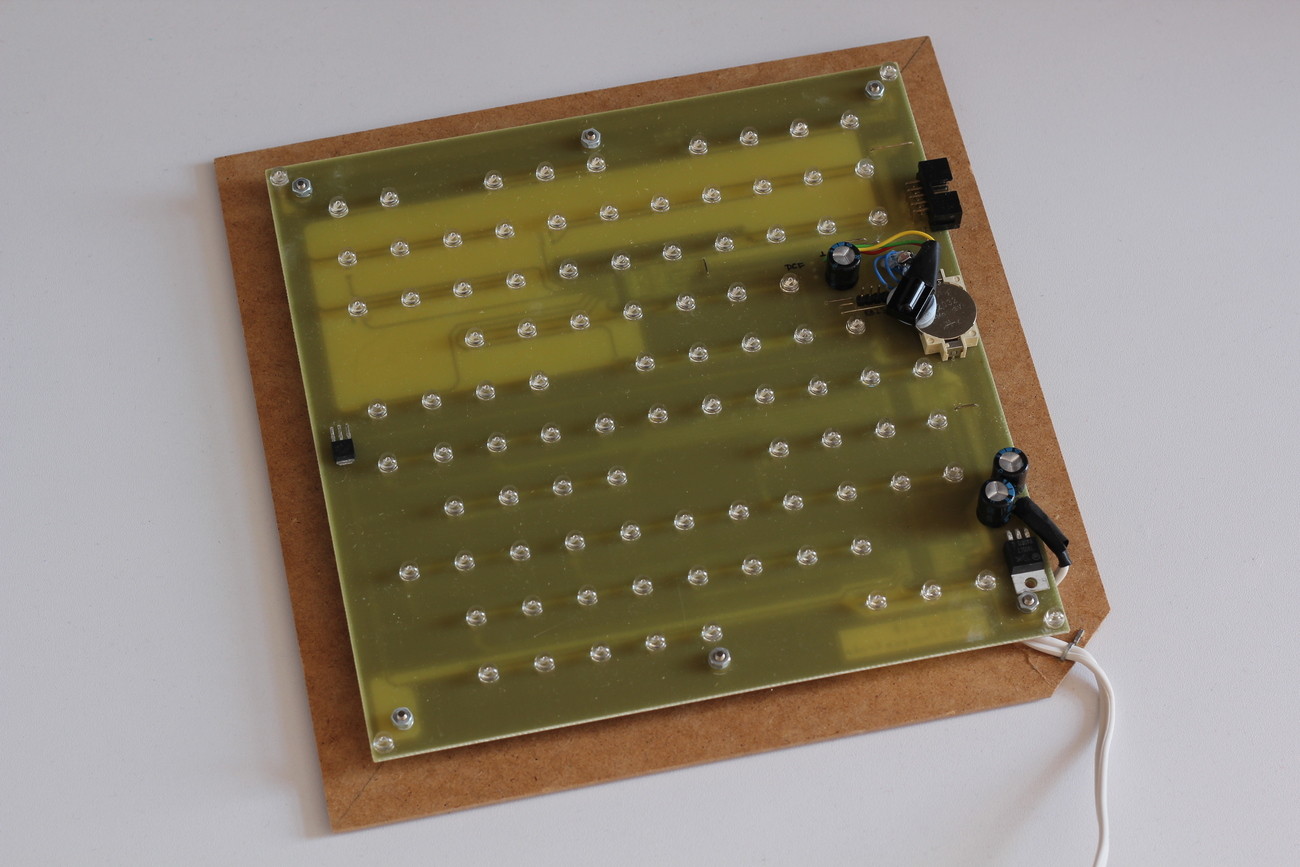
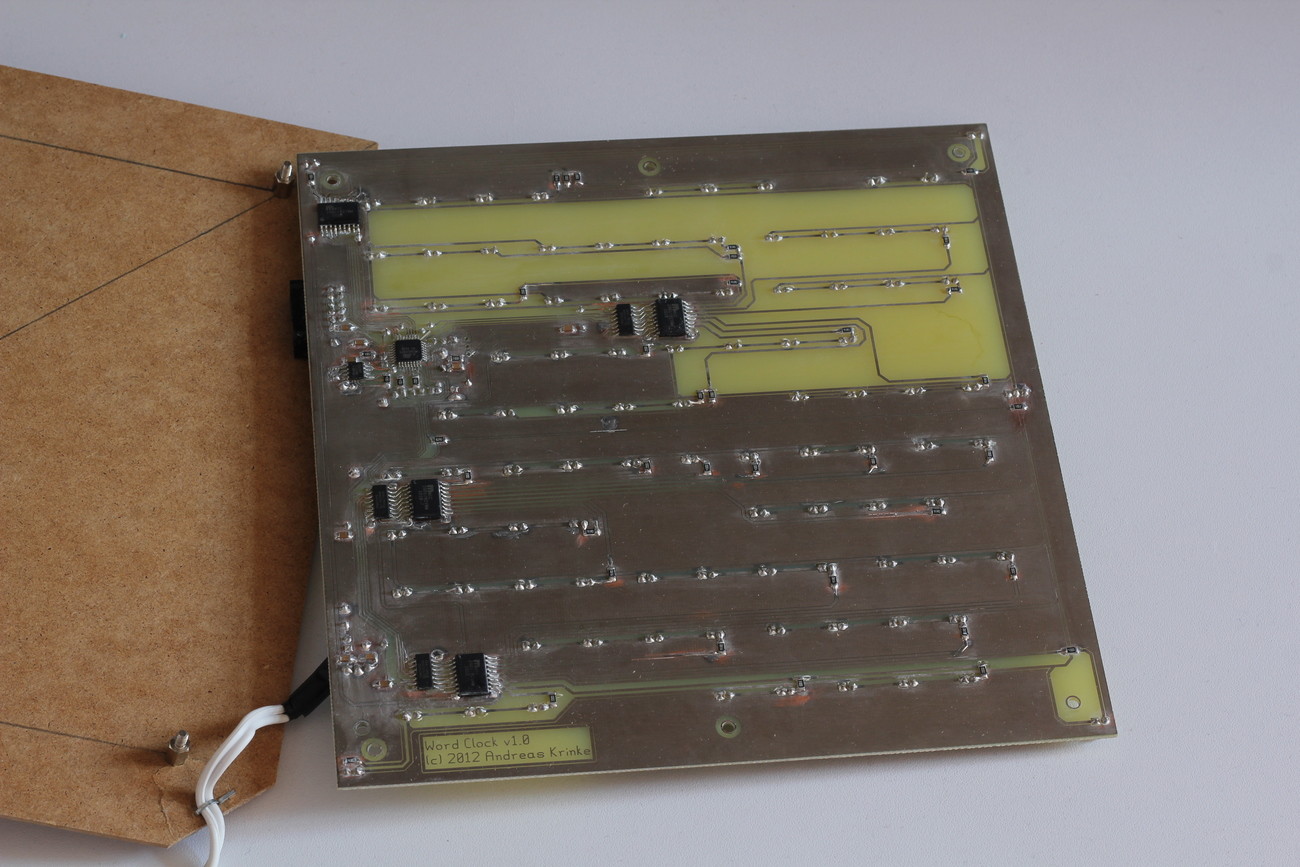
The single layer PCB was created using gEDA (gschem and pcb). It’s based on the schematic from mikrocontroller.net (variant 1, sheet 1, sheet 2) with small changes to the pin assignment in order to simplify the layout. Because the PCB has only a single layer, it can be produced at a low cost. I ordered mine from platinenbelichter.de for less than 30 EUR.
Parts
LEDs
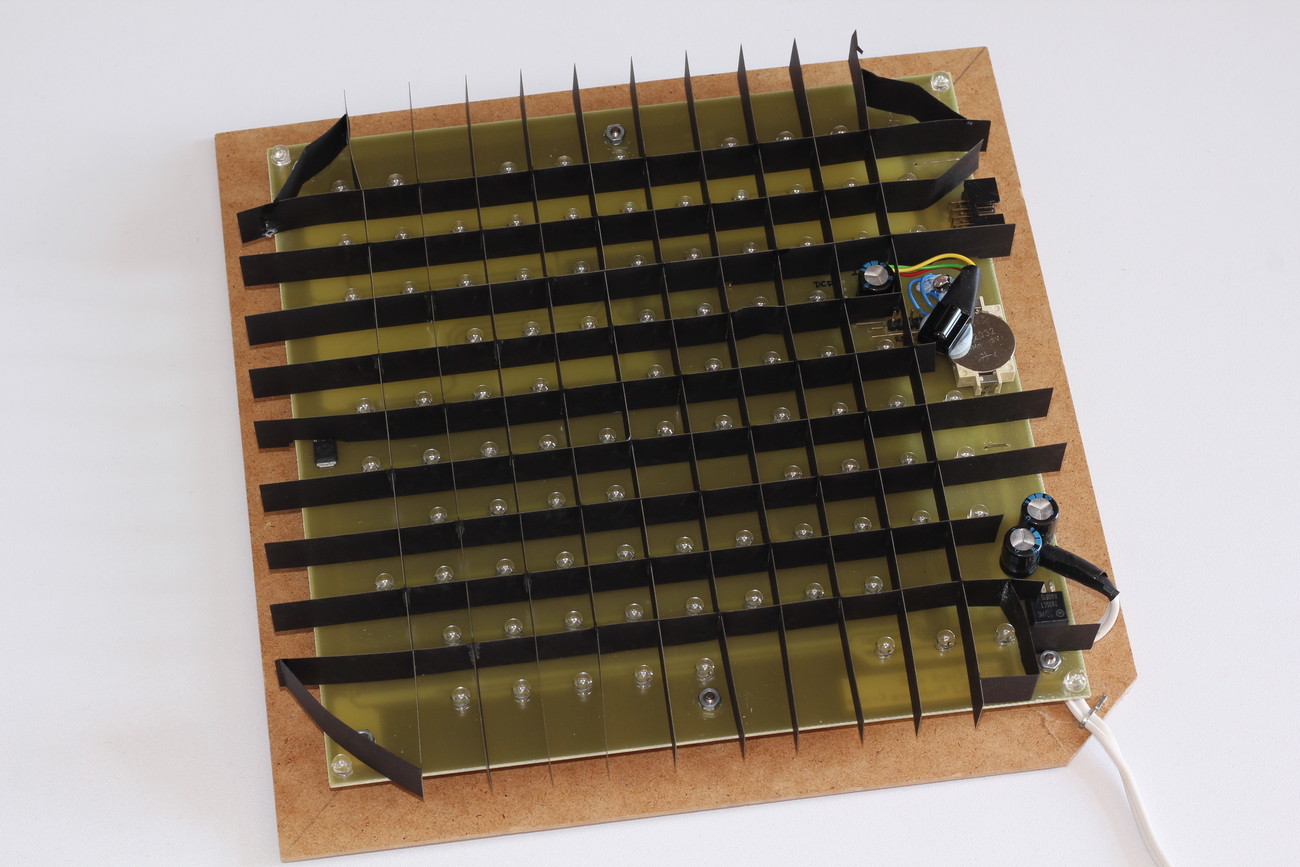
You need 97 LEDs (through hole, not SMD). I bought a pack of 100 straw hat leds from eBay.
LED Series Resistors
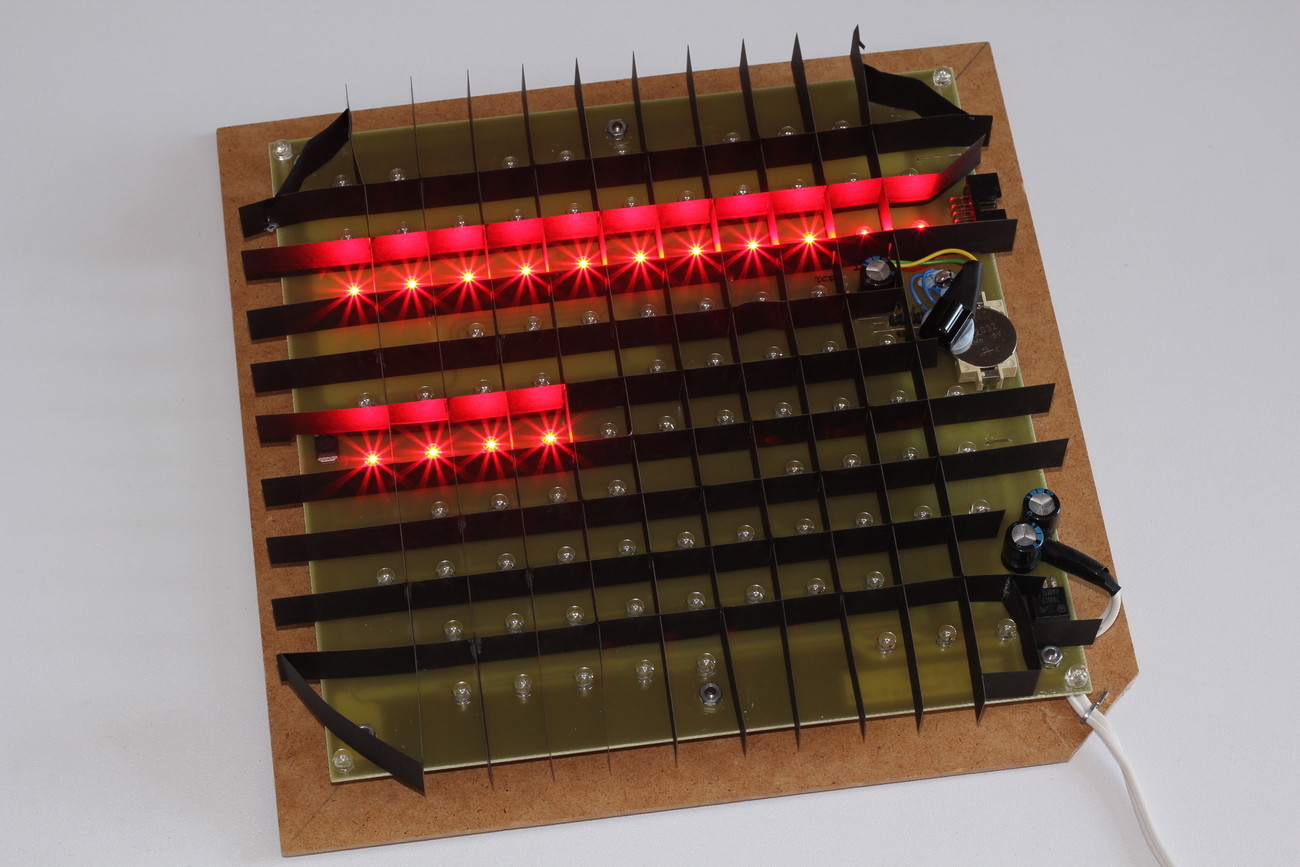
Depending on the lengths of the words on the front panel, there are groups of one, two, three, or four LEDs for each word. Each group needs one series resistor whose value depends on the number of LEDs in the group, the supply voltage, the LED current, and the LED forward voltage. In my case, the voltage across each group is 10.6 V (12 V wall power supply minus 1.4 V voltage drop across the MIC2981 driver). For my LEDs, I simply experimented with different resistor values for 1,2,3,4 LEDs in series until the current matched 20 mA.
Complete Part List
See part-list.ods, for a complete part list. In Germany, you can order all parts from Bürklin, Reichelt and eBay—see list for part numbers.
Firmware
The original software from mikrocontroller.net was modified to comply with the schematic and pcb layout changes but was not altered otherwise.
Letter Stencil

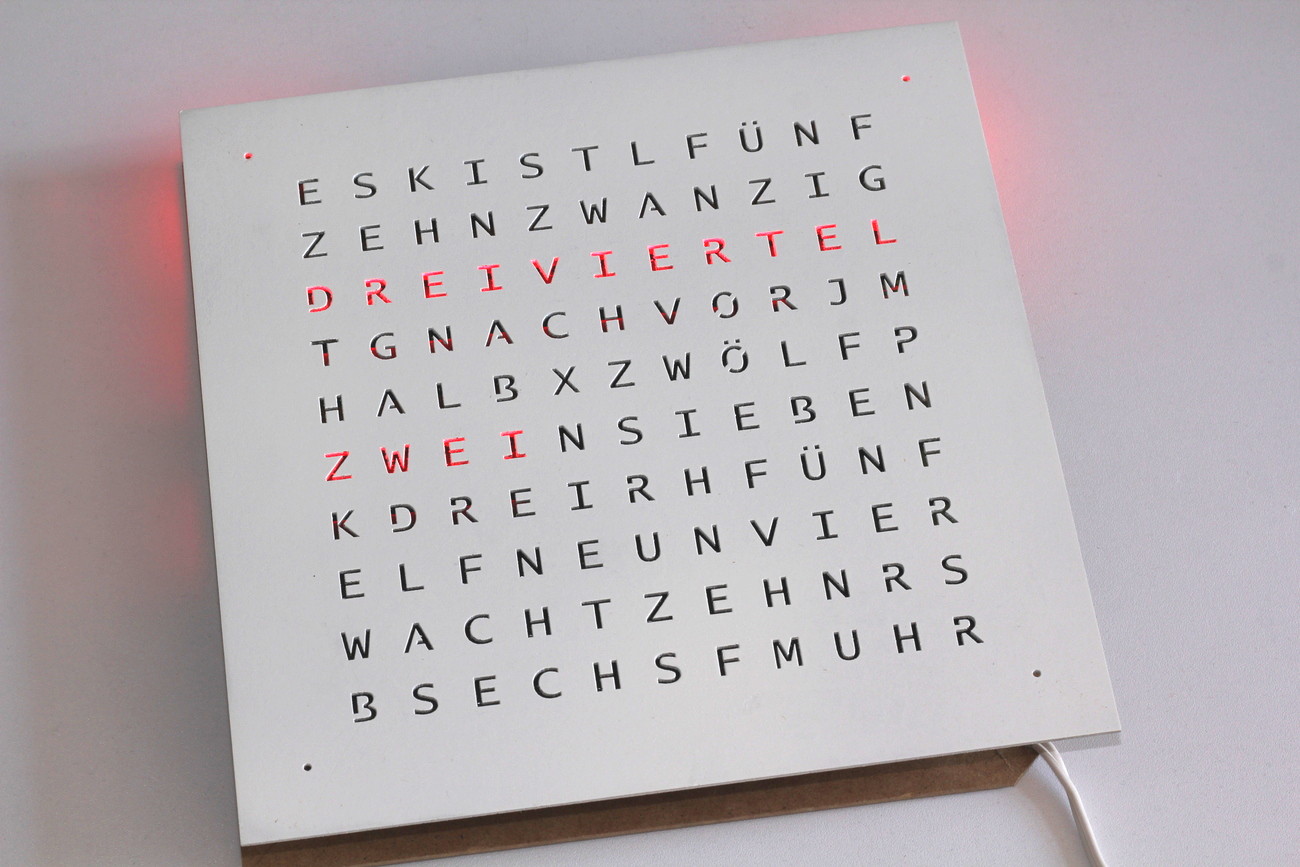
The word clock requires a letter stencil in front of the LEDs. A laser cutting template for a german version of the stencil is included. I used 1.5mm thick MDF (bought from Gerstaecker). Note: Painting MDF requires many passes with intermediate sanding! Be patient.
Light Guide
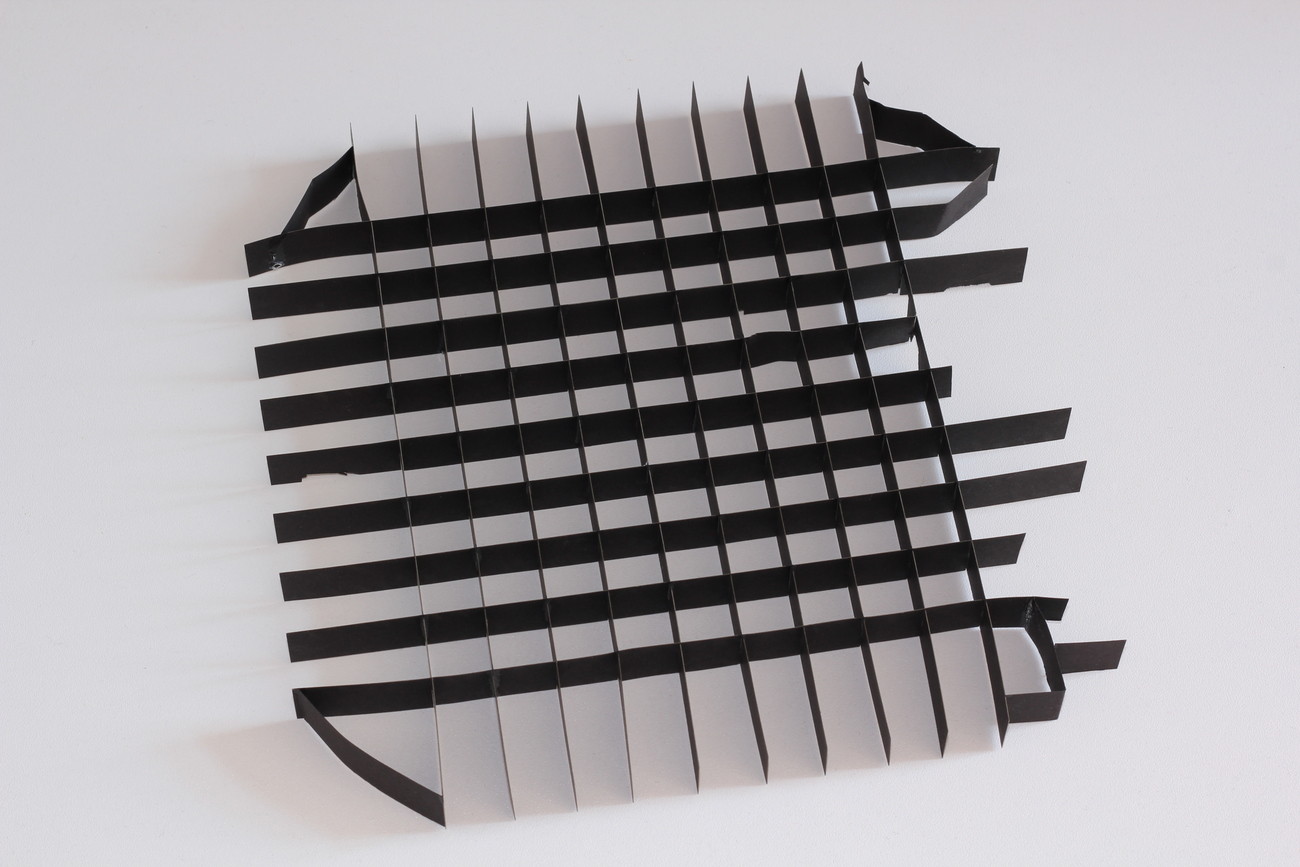
The LEDs must not light up neighboring letters. Therefore, we need some kind of guide to block their light. The files for a laser cut paper light guide are included. Depending on the thickness of the material you might have to regenerate the template from the source SVG. I used black paper for my laser cut light guide. Because of the components on the PCB, several cut-outs were required.
Assembly